
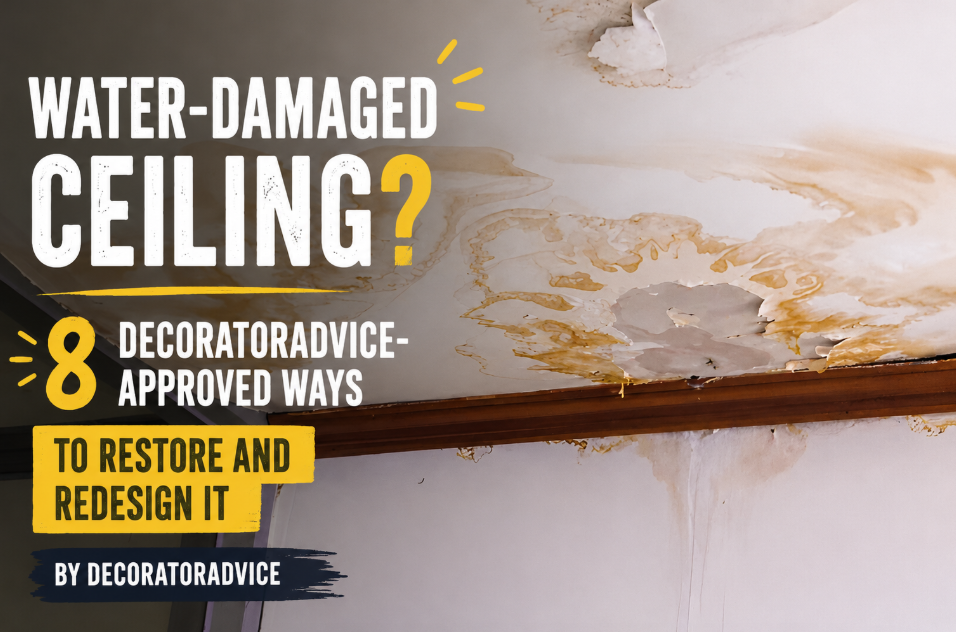
Water-Damaged Ceiling? 8 Decoratoradvice-Approved Ways to Restore and Redesign It
A roof leak does two things fast. It soaks through insulation, warps drywall, and leaves a damaged ceiling that looks worse every week you ignore it. And somehow, the stain always shows up in the most visible room in the house.
Here’s what most repair guides skip: fixing the ceiling is only half the job. Once the drywall is patched and the leak is sealed, you’re left with a room that looks like it went through something. That’s actually a good problem to have — because now you have a reason to redesign it properly.
This guide covers 8 ways to restore a damaged ceiling after water damage and, where it makes sense, use the repair as a starting point for a better-looking room. Whether the damage is one water stain or full panel replacement, these approaches work for US homeowners dealing with everything from minor leaks to serious structural soaking.
Before anything else: make sure the roof leak is fixed. No interior repair holds up if water is still getting in.
First: Assess How Bad the Damaged Ceiling Actually Is
Not all ceiling damage is the same. A small stain from a one-time drip is different from soft, sagging drywall that has been wet for weeks.
| Damage Level | Signs | Repair Approach |
| Surface only | Yellow/brown stain, ceiling still firm | Prime and repaint |
| Moderate | Bubbling paint, minor soft spots | Patch drywall + repaint |
| Significant | Sagging panels, mold visible | Replace drywall sections |
| Severe | Structural damage, widespread mold | Full ceiling replacement + mold remediation |
If you see mold — especially black mold — call a professional before touching anything. The EPA recommends professional remediation for any mold patch larger than 10 square feet.
8 Ways to Restore and Redesign a Water-Damaged Ceiling
1. Fix the Leak First, Then Dry the Ceiling Completely
Repairing a damaged ceiling before the source is fixed is money wasted. Patch the roof, then give the ceiling at least 48 to 72 hours to dry completely before any drywall work. Use fans and a dehumidifier to speed it up. Skipping this step causes new repairs to bubble, crack, and fail within months.
2. Apply Stain-Blocking Primer Before Any Paint
This is where most DIY repairs go wrong. Regular primer will not stop a water stain from bleeding through. You need an oil-based or shellac stain-blocking primer — brands like Zinsser BIN or Kilz Original are widely available at Home Depot and Lowe’s. One coat before painting usually does it for surface-level stains.
3. Patch or Replace Damaged Drywall Sections
Soft, crumbling, or sagging drywall has to come out. There is no painting over structural damage. Cut out the bad section cleanly, replace it with new drywall, tape and mud the seams, sand smooth, then prime and paint. For most homeowners, a drywall repair kit handles patches up to about 6 inches. Larger sections are worth hiring out.
4. Use Textured Ceiling Paint to Blend the Repair
Getting a perfectly smooth patch to blend with existing ceiling texture is harder than it looks. Textured ceiling paint (sometimes called “popcorn patch” or “ceiling texture spray”) helps new repairs blend into older surfaces without a full repaint. If the existing texture is popcorn and was installed before 1978, test for asbestos before sanding or disturbing it.
5. Replace the Whole Ceiling Panel With Beadboard
If the damage covers a large area, replacing drywall with beadboard panels is a decorator move that adds visual interest and covers imperfections cleanly. Beadboard works especially well in kitchens, bathrooms, and sunrooms. It installs over existing joists and can be painted any color. Cost runs roughly $1 to $3 per square foot for the material.
6. Install a Wood Plank Ceiling for a Design Upgrade
A seriously damaged ceiling in a living room or bedroom is a reasonable excuse to go all in on a wood plank ceiling. Shiplap, tongue-and-groove pine, or even peel-and-stick wood planks all work. This approach fully covers an old damaged ceiling without requiring a smooth drywall finish underneath. It is one of the most popular ceiling redesigns in US homes right now, partly because it works in farmhouse, modern, and transitional styles.
7. Add Recessed Lighting During the Repair
If the ceiling is already open for drywall replacement, that is the right time to add or reposition recessed lighting. Running new electrical while the joists are exposed costs far less than opening up a finished ceiling later. Recessed lighting also changes the feel of a room more than most people expect — it makes low ceilings feel higher and gives even small rooms a finished, intentional look.
8. Install a Decorative Medallion or Tray Ceiling Detail
For smaller damage areas in a central location, a ceiling medallion covers a patched spot while adding a period or transitional detail. For rooms where the full ceiling was replaced, this is also a good time to build out a simple tray ceiling. A one-level tray adds about $300 to $500 in materials for an average 12×14 room and completely transforms how formal the space reads.
Ceiling Repair Cost Estimates for US Homeowners (2026)
| Repair Type | Average Cost (DIY) | Average Cost (Pro) |
| Stain-blocking primer + repaint | $40–$80 | $150–$350 |
| Drywall patch (small) | $20–$60 | $200–$400 |
| Full drywall panel replacement | $80–$200 | $400–$900 |
| Beadboard installation | $200–$500 | $600–$1,400 |
| Wood plank ceiling | $300–$700 | $800–$2,000 |
| Recessed lighting (per fixture) | $50–$100 | $150–$300 |
Costs vary by region. Contractors in major metro areas typically run 20 to 40 percent higher than rural averages.
When to Call a Professional
DIY works fine for surface stains and small patches. Call a licensed contractor if:
- The damaged ceiling is still soft or sagging after drying
- You see black or green mold spreading beyond the stain
- The damage is near an electrical fixture or ceiling fan
- The stain covers more than 25 percent of the ceiling area
- The home was built before 1980 (asbestos and lead paint risk)
FAQ: Damaged Ceiling Repair
How long does a water-damaged ceiling take to dry? Typically 48 to 72 hours with good airflow. Thick insulation above the ceiling can hold moisture longer — up to a week in humid climates.
Can I paint directly over a water stain? Only with a stain-blocking primer first. Standard latex primer will not stop the stain from bleeding through.
Does homeowner’s insurance cover ceiling water damage? Usually yes, if the damage came from a sudden event like a burst pipe or storm. Damage from a slow, neglected leak is typically excluded. Check your policy’s language on “sudden and accidental” water damage.
Is a sagging ceiling dangerous? Yes. A heavily saturated ceiling can collapse. If ceiling material is visibly sagging, keep people out of the room and call a contractor.
Final Thought
A damaged ceiling is a problem. But it is also one of those situations where the repair forces you to actually deal with a space you have been ignoring. Most homeowners who go through this end up with a room that looks better than it did before the leak — because they finally had a reason to change things.
Fix the roof first. Then fix the ceiling. Then decide whether the room deserves something better than what was there before.

Jessica X
Writer at DecoratorAdvice com, sharing practical home design insights, décor trends, and expert tips to help readers create beautiful, functional living spaces.


You May Also Like

9 DecorAdHouse Upgrade Tips No One Tells You About