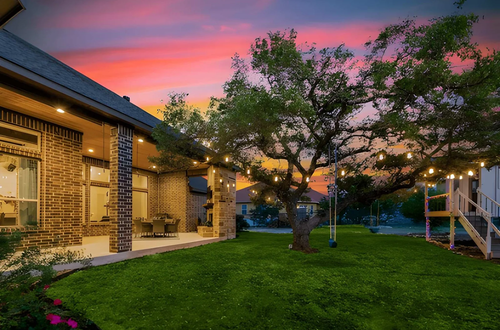
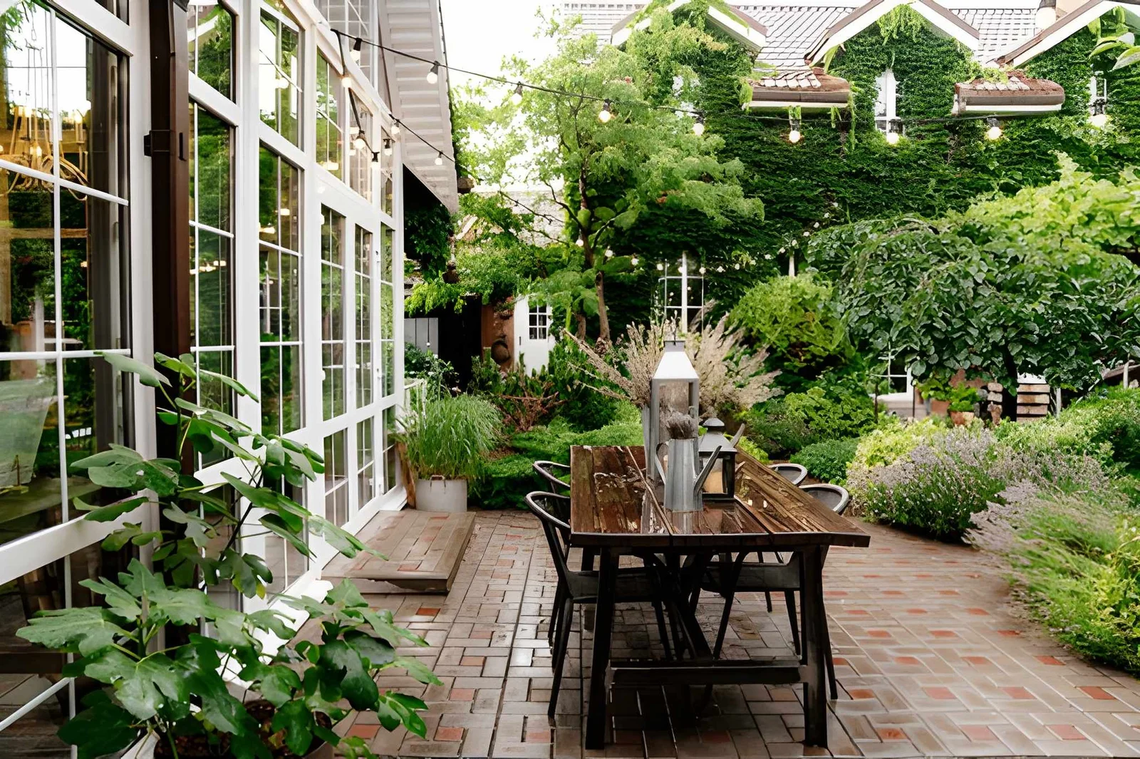
How to Renovate My Patio DecorAdHouse Style When You Have No Idea What You Are Doing?
“I want to renovate my patio” is one of those intentions that sits on the list for months — sometimes years — because the project feels too large to start and too undefined to plan. Where does a patio renovation actually begin? What needs to happen before what? Which parts require a contractor and which are genuinely manageable without one? How much does it realistically cost, and how do you avoid spending money on things that won’t matter?
Most patio renovation advice assumes you already know the basics. It jumps to material choices and design inspiration without addressing the more fundamental problem: if you’ve never done this before, you don’t know what you don’t know. The decisions that seem straightforward — what surface to use, whether to add a shade structure, how to handle drainage — each have dependencies that determine whether the project succeeds or requires expensive correction later.
This guide is for anyone who wants to renovate their patio but genuinely doesn’t know where to begin. It covers the correct sequence, the decisions that matter most, what to do yourself versus what to hire out, realistic cost expectations, and the specific mistakes first-time patio renovators make that this guide will help you avoid entirely.
What Makes a Patio Renovation Succeed or Fail Before It Starts
Most patio renovation failures trace back to decisions made — or skipped — before any work begins. Understanding these upfront prevents the most expensive corrections.
| Pre-Renovation Decision | Why It Matters | Consequence of Skipping |
|---|---|---|
| Grading and drainage assessment | Water must move away from the house | Flooding, foundation damage, material failure |
| Accurate measurements | Everything is sized to the space | Furniture doesn’t fit, materials wasted |
| Utility location check | Gas, water, electric lines underground | Dangerous excavation, costly repair |
| Sun and shade mapping | Determines usability by time of day | Unusable patio during peak hours |
| Use case definition | Dining vs lounging vs cooking needs differ | Wrong layout for how you actually live |
| Budget with contingency | Unexpected issues always arise | Project stalls or overspends mid-build |
| Permit check | Many structural changes require permits | Fines, forced removal, resale complications |
How to Renovate My Patio: The Right Order for First-Timers
1. Define How You Actually Want to Use It
Before touching anything, write down one sentence describing what you want this patio to be. Not what it could be — what you actually want it to do. A space for morning coffee and weekend dinners for two is a completely different project than a space for hosting twenty people on summer weekends. A patio designed around a grill and outdoor dining has different proportions, furniture needs, and shade requirements than one designed around lounging and reading.
This single definition determines everything: the size of the hardscape, the furniture footprint, whether you need a covered structure, where the cooking zone goes, how much lighting you need, and what the budget priority order should be. First-time patio renovators who skip this step end up with a generic outdoor space that doesn’t quite work for anyone. The ones who answer it honestly end up with a space used daily.
2. Assess the Existing Conditions Honestly
Before you can renovate your patio, you need to understand what you’re working with. This is the step most first-timers rush past — and where the most expensive surprises come from.
Walk the space after heavy rain and observe where water sits and where it drains. Water pooling near the house foundation is a serious problem that must be corrected before any surface material is installed. Water moving away from the structure and draining within an hour is an acceptable baseline.
Check whether the existing surface — concrete slab, pavers, wood deck — is structurally sound or damaged. A cracked slab with good drainage can be covered with pavers or overlaid with concrete resurfacer. A slab with significant heaving or drainage problems needs to come out. A wood deck with soft spots or rot needs professional assessment before any cosmetic work is considered.
3. Measure Everything Before Planning Anything
The measurement step that saves first-timers the most money and frustration: measure the patio space, then measure the furniture you’re planning to put in it, then draw a rough floor plan before purchasing anything or committing to a surface layout.
Outdoor dining tables and seating take more space than most people account for. A six-person dining table needs roughly a 10×12 foot zone minimum when chairs are pulled out and a walkway remains. A seating arrangement with a sofa, two chairs, and a coffee table needs a minimum 12×12 foot area to feel comfortable rather than cramped. If your existing patio is 10×10, you have a size problem that design can’t solve — and knowing that before you buy furniture or hire a contractor saves significant money.
4. Choose the Right Surface Material
Surface material is the most permanent decision in a patio renovation and the one first-timers most often make based on appearance alone. The appearance matters — but durability, maintenance requirements, cost, and how the material handles your climate matter more.
| Surface Material | Best For | Avoid When | Approx. Cost Installed |
|---|---|---|---|
| Concrete overlay | Existing slab in good condition | Significant cracking or drainage issues | $3–$8 per sq ft |
| Concrete pavers | Most climates, DIY-friendly | Freeze-thaw areas without proper base | $8–$20 per sq ft |
| Natural stone | Long-term investment, high-end look | Tight budget, shaded areas (slippery) | $15–$35 per sq ft |
| Porcelain tile | Low maintenance, modern look | Cold climates without rated tile | $10–$25 per sq ft |
| Composite decking | Replacing wood deck | Ground-level patios (needs framing) | $15–$30 per sq ft |
| Gravel/decomposed granite | Low-budget, good drainage | High foot traffic, furniture stability | $2–$5 per sq ft |
For most first-timers renovating an existing concrete slab in reasonable condition, a concrete overlay or concrete pavers laid directly on the existing slab is the most practical starting point — lower cost, manageable as a DIY project, and reversible if something isn’t right.
5. Tackle Shade Before Furniture
If there’s one sequence rule that prevents the most common patio renovation mistake, it’s this: solve shade before you buy a single piece of furniture. A patio without shade is abandoned by noon on any summer day — and furniture arranged before a shade structure is decided will likely need to be rearranged when the shade goes in.
Shade options for a patio renovation at different investment levels: a large cantilever umbrella ($200–$600) provides immediate shade with no structural work; a shade sail on installed posts ($400–$1,500) covers a defined zone and looks designed; a freestanding pergola kit ($1,500–$5,000) adds architectural presence and can support string lights and climbing plants; a professionally installed attached pergola or covered patio roof ($8,000–$25,000) is the most permanent and most valuable option.
Choose the shade solution your budget supports, install it, then arrange furniture underneath and around it. This sequence — shade first, furniture second — is how the best outdoor spaces get built and how the worst patio renovation mistakes get avoided.
6. What to DIY and What to Hire Out
Knowing this boundary is what makes it possible to renovate your patio without prior experience — and without paying for professional help on everything. The right split between DIY and hired work depends on your comfort level, but these general guidelines apply to most first-timers.
Reasonable for confident first-timers: laying pavers on an existing prepared surface, assembling pergola kits, painting or staining existing concrete, installing string lights and low-voltage landscape lighting, building simple raised garden beds, furniture assembly and arrangement.
Hire a professional for: grading and drainage correction, electrical installation for any hardwired lighting or outdoor outlets, gas line work for built-in grills, structural footings for permanent pergolas, and any work your municipality requires a permit for. The savings from DIYing structural work are rarely worth the risk of doing it wrong — and in some jurisdictions, unpermitted structural work creates liability at resale that costs more to resolve than the original professional would have charged.
First-Timer Patio Renovation Budget Guide
| Budget Level | What It Gets You | Realistic Scope |
|---|---|---|
| Under $1,000 | Furniture, accessories, plants, lighting | Cosmetic refresh of existing patio |
| $1,000–$5,000 | Surface overlay, shade sail, quality furniture set | Meaningful upgrade of existing space |
| $5,000–$15,000 | New pavers, pergola kit, outdoor dining setup | Real structural improvement |
| $15,000–$40,000 | Professional hardscape, shade structure, lighting | Full patio renovation with lasting results |
| $40,000+ | Outdoor kitchen, professional design, all elements | Complete outdoor living space transformation |
FAQ
Where do I start when I want to renovate my patio but have no experience?
Define exactly how you want to use the space — one clear sentence. Then assess drainage and existing surface condition. Then measure the space and map a furniture layout before purchasing anything. This sequence prevents the most common and most expensive first-timer mistakes before they happen.
Do I need a permit to renovate my patio?
Depends on scope. Cosmetic changes — resurfacing, painting, furniture — typically don’t require permits. Structural additions — pergolas attached to the house, electrical work, gas lines, retaining walls — typically do. Check with your local building department before starting any structural work. Unpermitted additions create complications at resale.
Can I renovate my patio in stages?
Yes — and this is often the smartest approach for first-timers. Get the surface and drainage right first. Then add shade. Then furniture. Then lighting. Then accessories and plants. Each stage builds on a solid foundation rather than decorating around problems that should have been addressed earlier.
How long does a patio renovation take?
A cosmetic refresh takes a weekend. A mid-level renovation with new pavers and a pergola kit typically takes two to four weekends for a competent DIYer or one to two weeks for a contractor. A full professional renovation runs four to eight weeks depending on scope and contractor availability.
What is the most cost-effective patio renovation for a small space?
Concrete resurfacer on an existing slab, a cantilever umbrella for shade, a weather-resistant outdoor rug to define the zone, and quality furniture sized correctly for the space. Total cost for a 10×12 patio: $800–$2,500 depending on furniture quality. The key is correct proportioning — furniture sized to the actual space rather than furniture you wish the space could accommodate.
Bottom Line
Wanting to renovate your patio without knowing where to start is the most common position first-timers find themselves in — and it’s entirely workable once the sequence is clear. Define how you’ll use it. Assess what you’re working with. Measure before planning. Choose a surface material for performance, not just appearance. Solve shade before buying furniture. Know what to DIY and what to hire out.
Follow that sequence and a first patio renovation produces results that look considered and professional — not because you had prior experience, but because you made decisions in the right order. The order is what experienced renovators have that first-timers don’t. Now you have it too.
Must visit https://decoratoradvice.fr/ for patio decoradhouse styles.

Jessica X
Writer at DecoratorAdvice com, sharing practical home design insights, décor trends, and expert tips to help readers create beautiful, functional living spaces.


You May Also Like
From Messy to Magnificent Yard Guide
Is Yard Guide Decadgarden Really Worth Your Time?